Skip to content
Home
Services
Gallery
Contact
Main Menu
Home
Services
Gallery
Contact
Gallery
Marks corner
Before:
After:
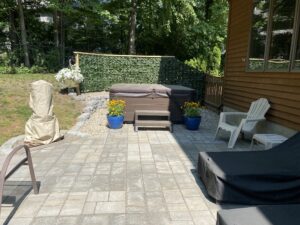
Patty's Patio
Toggle Content